Installing a Bathroom Extractor Fan: A DIY Guide to Stopping Condensation and Mould
A working extractor fan is the cheapest insurance in the house against black mould. Here's how to pick, wire and fit one properly, and stay on the right side of Part P.
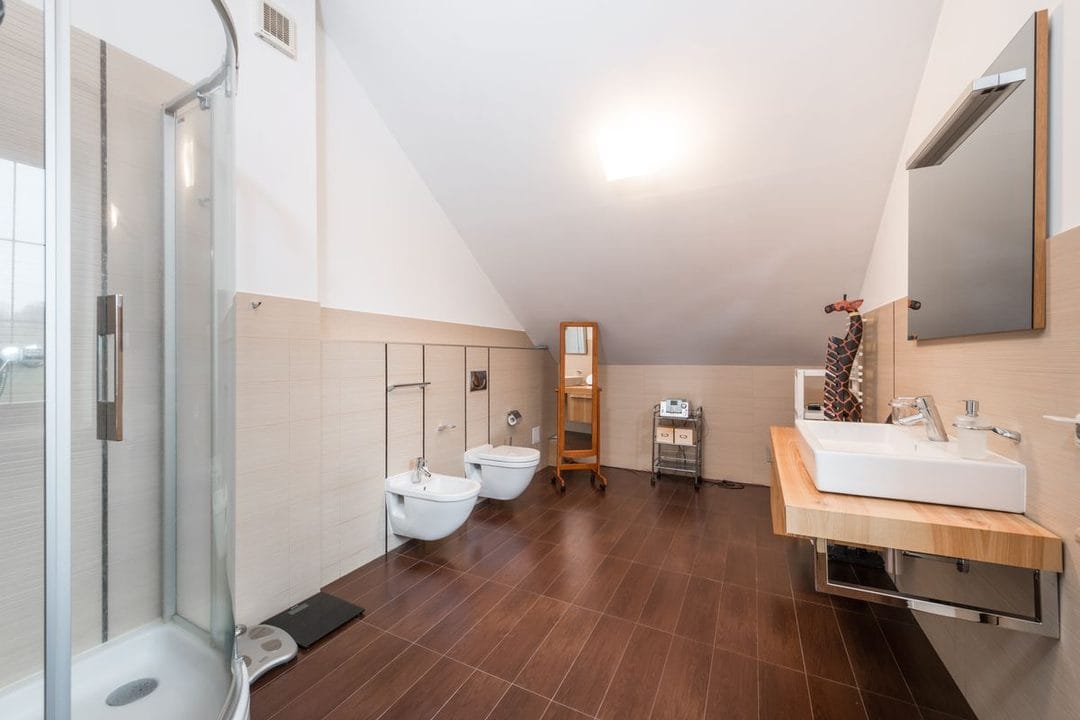
Steam rolls off a hot shower, hits a cold tile, and within ten minutes there's a film of water running down the wall behind the toilet cistern. Nobody notices until the grout starts going black. By the time most homeowners call a tradesperson about bathroom mould, the fan that would have stopped it has usually been broken, missing, or wired wrong for years — and often all three at once.
A working extractor fan is not a luxury item. It's the single piece of kit standing between a bathroom and the black spot mould (Aspergillus niger, mostly) that colonises grout lines, silicone seals and the underside of ceiling paint. Approved Document F, the ventilation section of the Building Regulations, sets a minimum intermittent extract rate of 15 litres per second for a bathroom, or 8 litres per second if the fan runs continuously on trickle. Most homes built or refitted since the 1990s already have a fan point wired in — it's just often disconnected, underpowered, or venting into a loft space instead of outside. Replacing or fitting one properly is a genuinely achievable weekend job, and it's considerably cheaper than the alternative of stripping and re-tiling a mouldy shower enclosure two years down the line.
What Kind of Fan You Actually Need
There are three broad categories sold at Screwfix, Wickes and B&Q, and picking the wrong one is the most common mistake DIYers make before they've even opened the box.
- Axial fans — the standard wall or ceiling-mounted type, good for short, straight duct runs under about 1.5 metres. A basic Manrose or Xpelair model costs £15–£35.
- Centrifugal (inline) fans — mounted in the loft or ductwork rather than the bathroom itself, and capable of pulling air through duct runs of 6 metres or more with several bends. These start around £45 and climb past £120 for a Vent-Axia Lo-Carbon model.
- Timer and humidistat fans, which run on after the light switches off or trigger automatically when humidity crosses a threshold, typically add £20–£40 over a basic model — and are, frankly, worth every penny, because nobody remembers to leave a bathroom fan running while they get dressed.
For a standard family bathroom with an internal or external wall within a metre of the shower, a humidistat-controlled axial fan is the right call — something like the Envirovent Silent 100T, which runs at a barely audible 26dB and holds a runover timer as well as a humidity sensor. Skip the cheapest £12 fans with no timer function; they clear the room while someone's in the shower and switch off the second the light does, which is precisely the wrong moment, since most condensation forms in the fifteen minutes after the water stops.
The Legal Bit: Bathroom Zones and Part P
Bathrooms are the one room in a UK house where electrical work is genuinely regulated by zone, not just by common sense. Building Regulations Part P governs electrical safety in dwellings, and it splits a bathroom into Zone 0 (inside the bath or shower tray itself), Zone 1 (up to 2.25m above the floor, directly over the bath or shower), and Zone 2 (a 0.6m band around Zone 1, plus the area around a basin). Anything installed in Zone 1, including an extractor fan, must carry a minimum ingress protection rating of IPX4 — splashproof — and the electrical connection has to run through a fused connection unit or be wired via a ceiling rose that's outside the zones entirely. If your bathroom has no existing fan wiring and you need to run a new spur from the consumer unit, that work falls under notifiable Part P work and legally needs to be either carried out by a Part P-registered electrician or checked by your local council building control before you cover it up. Swapping a like-for-like fan on existing wiring — same fan point, same cable route — is not notifiable and is well within competent DIY territory. If you're not certain which situation you're in, that's the one moment on this job worth a phone call to a local electrician before you touch a screwdriver.
Removing the Old Fan
Isolate the circuit at the consumer unit before doing anything else — not just switching off the bathroom light, since many fans are wired to run independently or to overrun after the light goes off. Test the wires are dead with a voltage tester, not by assumption.
Unscrew the fan's front grille, which on most models either clips off or is held by two Phillips screws in the corners. Behind it you'll find the fan housing screwed to the ceiling or wall, connected to a length of flexible ducting on one side and a three-core cable (live, neutral, earth, sometimes a fourth switched-live wire) on the other. Take a photo of the wiring terminals before disconnecting anything — cheap insurance against a confused ten minutes later when the new fan's terminal block is laid out differently. Undo the terminal screws, pull the old unit free of the ducting collar, and check the state of the ducting itself; if it's flattened, perished, or full of years of dust and grease, replace it rather than reusing it, since a compressed or leaking duct will strangle the new fan's airflow regardless of how good the unit is.
Wiring and Fitting the Replacement
Most household extractor fans wire the same basic way: live and neutral feed the fan's internal transformer, and a separate switched-live (often taken from the light switch, sometimes from a dedicated pull-cord or wall switch) triggers the run. Humidistat and timer models add a small circuit board that sits between the terminal block and the motor — the terminals are usually clearly labelled L, N, SL and E, and the manufacturer's install sheet inside the box will match them to the wiring diagram exactly. Match wire colour to label, torque the terminal screws properly (loose connections are the top cause of fan failure within the first year, ahead of motor wear), and route the earth to the earth terminal even on a plastic fan body — regulations require it regardless of casing material. Screw the new housing to the ceiling or wall using the existing fixing holes where possible, reconnect the ducting with proper duct tape (not gaffer tape, which perishes and drops off within a couple of years in a humid environment), and clip the front grille back on. Restore power at the consumer unit, run the fan for a good five minutes, and hold a piece of tissue paper near the external vent outside the house — if it flutters and holds against the grille, air is actually moving through the full duct run and not just spinning uselessly at the fan itself.
The Part Everyone Skips: The Duct Run and the External Vent
A fan is only as good as where the air actually goes, and this is where a surprising number of otherwise correct installations quietly fail. Venting into a loft space rather than outside the building envelope is a common shortcut — and a bad one, since it just relocates the moisture problem to the roof timbers, where it causes rot and black mould that's far more expensive to fix than a bathroom ceiling. The duct has to terminate outside, through a wall vent or roof cowl, with a gravity flap or one-way valve to stop cold air and draughts blowing back in when the fan isn't running. Keep the duct run as short and straight as the building allows — every 90-degree bend costs roughly the equivalent of an extra metre of straight run in airflow resistance, and a fan rated for 90 m³/hour in a lab test can lose a third of that capacity through three tight bends and a long horizontal crawl to an eave vent. If your loft run is long, an inline centrifugal fan mounted partway along the ducting, rather than an axial fan straining at one end, will move noticeably more air for the same noise level.
Beyond the Fan: What Else Is Feeding the Mould
A new fan fixes airflow, but it won't undo mould that's already established in silicone seals or grout — those need treating separately, and no amount of ventilation will bleach out staining that's already taken hold. HG Mould Spray or a diluted bleach solution applied with a stiff brush will lift most surface mould from tiles and grout within a few minutes of contact time; badly affected silicone sealant around the bath or shower tray is usually cheaper and more effective to strip out and re-run than to try cleaning, since mould grows through the depth of silicone, not just on its surface. It's also worth checking that the bathroom door has an adequate gap under it — around 10mm is standard — so the fan has somewhere to draw replacement air from as it extracts; a tightly sealed bathroom door with no gap and no trickle vent starves the fan of make-up air and cuts its effective performance regardless of how good the unit or duct run is.
What This Costs and What It's Worth
A full DIY swap — humidistat fan, new ducting, a morning's work — runs somewhere between £60 and £150 in materials for most bathrooms, depending on whether the duct run needs replacing in full. Hiring an electrician for a straightforward like-for-like swap typically adds £80–£150 in labour on top of the parts, more if new cabling or a fused spur is needed. Compare that to a full re-grout and re-silicone job after mould has taken hold — commonly £300–£600 for a professional job on a standard bathroom — and the fan starts to look less like an accessory and more like the cheapest insurance in the house.