How to Install a Simple Garden Drip Irrigation System This Summer
A hosepipe soaks the surface and moves on. A drip system waters the roots while you're at work, cuts water use by up to half, and takes one weekend afternoon to fit.
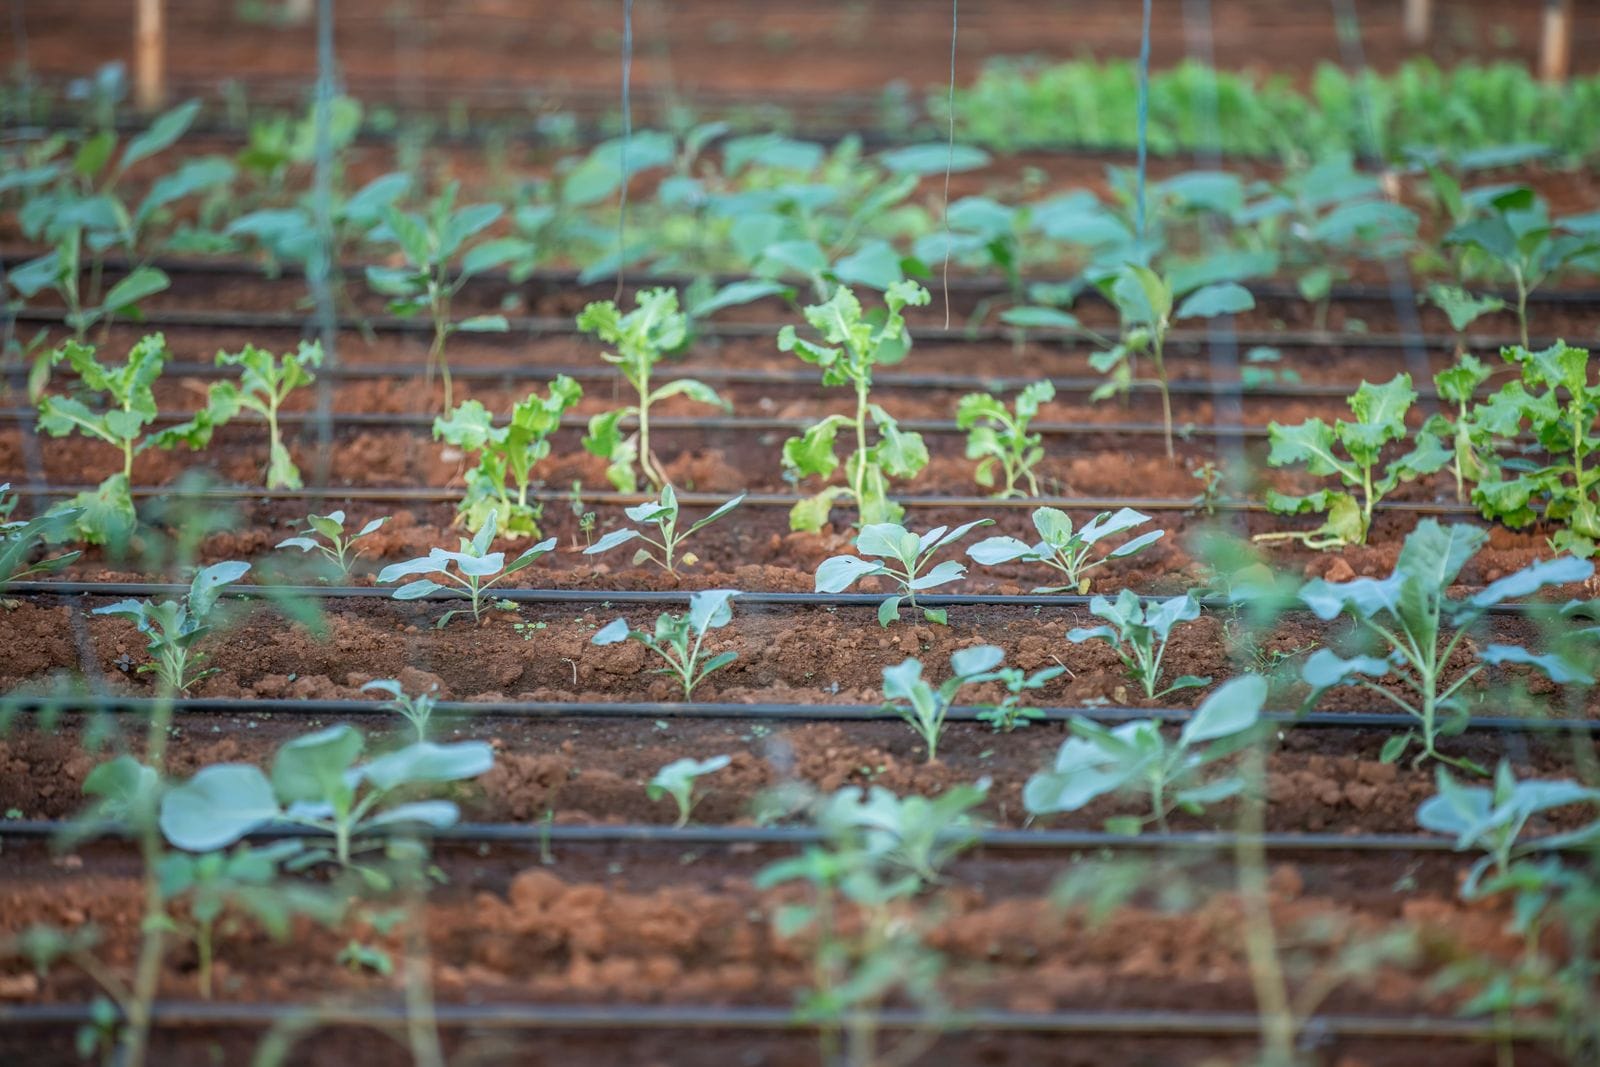
Come back from a fortnight away in August and the border by the fence tells you everything. The runner beans have gone woody, the tomatoes have split from a panicked soaking the day you got home, and the pot of basil by the back door is a brown skeleton nobody thought to mention to the house-sitter. None of that happens to the raised bed two doors down, where a coil of thin black tubing runs quietly under the mulch and clicks on for twenty minutes every other morning whether anyone's watching or not. That's drip irrigation, and it's a far smaller job to fit than most people assume — a weekend afternoon, not a plumber's day rate.
Why a Drip System Beats a Hosepipe or a Watering Can
A watering can or hosepipe soaks the top two inches of soil and moves on, which trains roots to stay shallow and vulnerable the moment a hot week arrives. Drip irrigation does the opposite: water is released slowly, right at the base of each plant, so it has time to soak down to where the roots actually are instead of running off the surface or evaporating before it's absorbed. Thames Water and most other UK suppliers estimate that drip systems use 30–50% less water than sprinklers for the same bed, which matters more each summer now that hosepipe bans arrive earlier and last longer across the South East. There's a labour argument too, and it's the one that actually gets people to install these things: once it's fitted and set to a timer, watering stops being a daily chore you have to remember on your way to work.
Don't expect it to solve every watering problem in the garden, though. Drip lines are brilliant for beds, borders, veg patches and pots grouped together, but they're the wrong tool for a lawn — for grass you still want a sprinkler or an oscillating attachment, because drip irrigation only wets a narrow strip along the tube rather than an even area. Mixing the two systems on the same tap via a splitter is normal and works fine; treating drip line as a lawn solution is the most common mistake first-timers make, and it leaves you with dead grass either side of a green stripe.
What You Actually Need to Buy
A basic kit for a single 3–4 metre bed costs somewhere between £25 and £60, depending on whether you buy branded (Hozelock and Gardena both sell well-stocked starter kits at most garden centres) or a generic version from a hardware supplier online. The core components are the same regardless of brand:
- Main supply tube (usually 13mm or 16mm) that runs from the tap to the growing area
- Drip line or individual drippers — inline drip tube for rows of veg, adjustable drippers on spurs for pots and larger shrubs, and sometimes both on the same run
- A pressure reducer, because mains pressure will blow cheap drip fittings apart within days if you skip this step
- A tap connector with a filter, which stops grit and scale from clogging the tiny outlet holes over a season
- End stops, T-pieces and elbow joints for shaping the layout around beds, paths and corners — buy a few more than you think you need, because running short mid-installation on a Sunday afternoon is genuinely irritating
Skip the pressure reducer at your peril. Full mains pressure through a drip emitter rated for low-flow use will split the joints within a week, and you'll spend the following Saturday morning tracking down the exact spot where water is fountaining out under the hydrangea instead of actually watering anything.
Laying Out the System, Step by Step
Start with the tap end and work outward — it's far easier to plan a layout on paper first, even a rough sketch on the back of an envelope, than to discover halfway through that the main line is eight feet too short for the far corner of the bed. Fit the tap connector, filter and pressure reducer in that order directly onto the outdoor tap. Run the main supply tube along the shortest sensible path to the bed, pinning it down with the small stakes most kits include so it doesn't shift when you're weeding later.
From there, branch off with T-pieces to reach each row or cluster of plants. For a vegetable bed, inline drip tube laid in a zigzag between rows covers the ground evenly; for pots and containers, a single dripper per pot on its own short spur gives you control over exactly how much water each one gets, which matters if you've got a thirsty courgette next to a Mediterranean herb that actively prefers drought. Push the tubing under mulch or bark chippings once it's laid — this isn't cosmetic, it slows evaporation from the soil surface and protects the tube from UV degradation, which is the main reason cheap drip line perishes and cracks after two or three summers in direct sun.
Cap the far end of every branch with an end stop before you turn the water on. Skipping this is the single most common reason a brand-new system seems to have no pressure at the far drippers — all the water is pouring uselessly out of the open end nearest the tap.
Adding a Timer (and Why You Should)
A battery timer that screws onto the tap before your other fittings is the difference between a system you have to remember to switch on and one that simply runs itself. Most cost £15–£35, run on a single 9V battery for a season, and let you set a start time plus a duration — early morning, around 6am, before evaporation losses climb through a hot day, for fifteen to thirty minutes depending on bed size and how dry the week has been. Gardena's and Hozelock's own timers integrate directly with their drip kits without adapters; if you've bought a generic kit, check the thread size before ordering a timer separately, since a mismatched fitting is a fiddly return to make once you've already cut and fitted everything else.
Rain sensors are a genuinely useful add-on if you're prone to forgetting to override the timer during a wet spell — they cost another £10–£15 and simply skip the scheduled watering if enough rain has already fallen. Not essential. Worth it if the idea of your system dutifully watering a soaked bed during a downpour bothers you as much as it bothers most gardeners once they've seen it happen.
Is It Worth It If You're on a Water Meter?
Most of England is heading toward compulsory water metering by the end of the decade, and a fair few readers already pay by the cubic metre rather than a flat rate. On a meter, the maths on drip irrigation gets genuinely persuasive rather than just theoretically nice: a typical water company charges somewhere around £2.20–£2.80 per cubic metre once you add the wastewater element, and a hosepipe left running for twenty minutes can easily shift 200 litres, most of which never reaches a root. Cut that by even a third across a summer of regular watering and a £40 starter kit has usually paid for itself before September.
Buy the cheapest kit you can find and you'll probably be replacing brittle fittings within two summers — spend the extra tenner on a mid-range branded kit instead, because the plastic used in the cheapest tubing goes stiff and cracks under UV exposure far faster than anything from Hozelock or Gardena. That's not brand loyalty for its own sake; it's the one part of this job where the cheap option genuinely costs more over three years than the slightly pricier one does upfront.
What Goes Wrong (and How to Fix It)
Clogged drippers are the most frequent fault, usually from hard water scale or a bit of grit that got past the filter. A dripper that's stopped working can normally be cleared by pulling it off the tube, running water backward through it, and refitting — replacing it outright costs pennies if that doesn't work. Slow, gradual pressure loss across the whole system, on the other hand, almost always means a small split somewhere along the main line, often where it's been nicked by a spade or a trowel during weeding; walk the length of the tube with the water running and you'll usually spot the fine spray straight away.
Algae growth inside the tubing is the one people don't expect. If any part of the run sits in direct sun rather than under mulch, sunlight through semi-translucent tubing can trigger it, turning the water faintly green and eventually clogging the finer emitters. Keep the tube covered and it essentially never happens — which is one more reason the mulching step earlier isn't optional, whatever the packaging photos suggest about neat exposed black lines running across bare soil.
Set aside twenty minutes each spring to check every joint, clean the filter, and replace any tubing that's gone brittle over winter. That's genuinely the whole maintenance routine — no draining down required unless a hard frost is forecast, in which case disconnect at the tap and let the line empty itself before the first proper cold snap arrives.