How to Build a Garden Pergola for Summer Shade: Post Fixings, Timber Sizes and the Permitted Development Rules You Need to Know
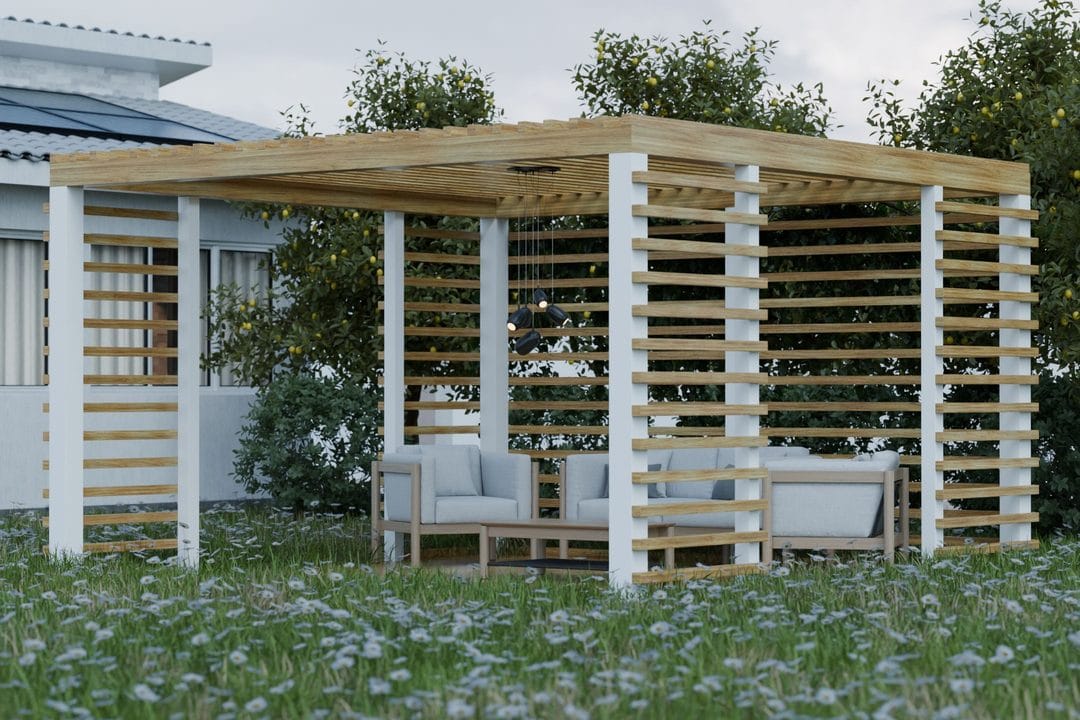
The fence panels went up in May, the decking followed in June, and by the second heatwave of July you're standing on it at two in the afternoon wondering why you bothered — there's no shade anywhere near the seating area. A parasol helps for an hour until the sun moves. A pergola, built properly, solves the problem for the rest of the summer and every one after it. It's also one of the few garden structures a competent DIYer can put up in a weekend without specialist tools, provided the posts go in correctly and nobody skips the rules on how close it can sit to the boundary.
Do you actually need permission first?
Most garden pergolas fall under permitted development, which means no planning application — but only if you stay inside the limits. A freestanding pergola counts as an outbuilding for planning purposes in England. Keep it under 2.5 metres high if it's within 2 metres of a boundary, and under 4 metres if it's a dual-pitched structure further into the garden, or 3 metres for anything else. Cover no more than 50% of the garden area with outbuildings and extensions combined, including the shed you already have. If your house is listed, in a conservation area, or on designated land such as an AONB, the rules tighten considerably and it's worth a five-minute call to your local planning department before you order timber.
None of this touches Building Regulations directly, since a pergola is an open structure rather than a habitable room, but attach it to the house and run electrics out to it for festoon lighting or a ceiling fan, and Part P kicks in — that work needs to be done, or at minimum certified, by someone on the Gas Safe or NICEIC-equivalent electrical register. Get an electrician in for that bit rather than running an extension lead through the cat flap, which is how three neighbours on our street have blown outdoor sockets in the last two summers.
Choosing timber and post sizes
Pressure-treated softwood is the sensible choice for most budgets — C24-grade timber holds up structurally, and treatment class UC4 is rated for ground contact, which matters more than most first-time builders realise. Posts should be a minimum 100x100mm; anything thinner will twist within two years once it's carrying the weight of climbing plants and wet rafters. Wickes and Jewson both stock 100x100mm treated posts at roughly £28–£38 each depending on length, and Travis Perkins can usually beat that on a trade account if you're buying six or more. For the beams spanning between posts, 150x50mm is the minimum for spans over 2.4 metres — go thinner and you'll see visible sag by year two, especially once a wisteria or grapevine has had a season to establish.
Oak is the upgrade option, and it's worth the extra cost if the pergola sits somewhere you'll look at every day from the kitchen window. Expect to pay three to four times the price of treated softwood, plus the fact that oak silvers over eighteen months rather than staying its original honey colour — some people love that weathered look, others find it makes a new structure look neglected within a year. There's no wrong answer here, only a decision about maintenance you're willing to make in year one versus year five.
Setting the posts properly
Dig to at least 600mm depth for a standard 2.4-metre-high pergola post, deeper on clay soil where frost heave is a real risk over winter. Post mix concrete — Wickes sells 20kg bags at around £6 each, and you'll typically need two to three bags per hole — sets in under an hour and cures fully within 24 to 48 hours, which is fast enough to keep a weekend project on schedule. An HSS Hire post hole borer, roughly £45 for a day's hire, turns four hours of digging into forty minutes if the ground isn't full of rubble or old foundations.
Skip the concrete entirely and you'll regret it by autumn.
Fixing the beams and choosing shade
Bolt beams to posts rather than nailing — two M10 coach bolts per joint, driven through pre-drilled holes with a decent 18mm spade bit, will outlast screws by a decade and won't work loose the way nails do once the timber starts moving with the seasons. Galvanised joist hangers from Screwfix, around £3 each, give a cleaner finish where rafters meet the main beam and take the guesswork out of getting every rafter level. Space rafters 400–600mm apart for a pergola that'll eventually carry a climbing plant, tighter if you're fitting canvas shade sails or slatted roofing panels straight away.
Adding real shade, not just a frame
- Retractable canvas — the most flexible option, roughly £150–£400 for a DIY kit sized to a standard 3x3m pergola, and it means you can open it up again once the sun's dropped and you actually want the light back
- Polycarbonate roofing panels give year-round weather protection, useful if the space doubles as an outdoor dining area, though they trap heat underneath on the hottest days unless you leave a gap for airflow at the ridge
- Climbing plants — wisteria, grapevine, or a fast-growing clematis — cost almost nothing beyond the plant itself and look genuinely beautiful within two seasons, but you're waiting two summers for proper coverage, and that first year of bare rafters is the one everyone forgets to plan around
Getting the position right so it actually blocks the sun
A pergola built in the wrong spot looks great and shades almost nothing, which is the single most common regret I hear about a month after completion. In the UK, the sun sits highest and most direct between roughly midday and 4pm through July and August, coming from the south and south-west — a pergola positioned to shelter a north-facing patio does very little in the hours that actually matter, because the sun barely clears the roofline from that angle. Stand in the space you're planning to cover at 2pm on a clear day and watch where the shadow from the house or fence already falls; that fifteen minutes of observation will tell you more about roof pitch and rafter spacing than any diagram. Angling the rafters to run east-west rather than north-south typically blocks more of the low, glaring afternoon sun that comes in sideways under a flat roof, which is the sun angle that actually drives people indoors, not the midday sun most designs are built to block.
Attaching one side to the house wall rather than building fully freestanding saves roughly a third of the timber cost and adds real structural stability, but it also means dealing with the house's damp-proof course. Any wall plate bolted to brickwork needs a damp-proof membrane behind it and should sit at least 150mm above ground level, or you risk bridging the DPC and pushing damp into the wall behind your kitchen or dining room — a mistake that costs a great deal more to fix than the pergola itself.
What it actually costs and where people overspend
A 3x3 metre softwood pergola, built from scratch with treated timber, coach bolts, post mix and a canvas shade kit, comes in at roughly £450–£700 in materials if you're doing the labour yourself. Hire a landscaper to do the whole job and you're looking at £1,800–£3,500 depending on region, which is worth it if you're not confident with a spirit level and a post hole borer, but a waste of money if the only barrier is finding a free Saturday. The single biggest overspend I see is people buying decorative post caps and finials before they've properly braced the frame — diagonal bracing between post and beam, cut from offcuts of the same 150x50mm timber, does more for long-term stability than any amount of ornamental trim, and it costs nothing beyond what's already in the cutting pile.
Keeping it standing: what to check every spring
Treated softwood needs re-oiling or re-staining roughly every two years to stay weatherproof, more often on the south-facing side that takes the worst of the UV. Ronseal's exterior wood treatments run about £20–£28 a tin at Screwfix or B&Q, and one tin covers a standard 3x3m pergola with a coat to spare — do it in April or May before the first heavy rain of the season rather than waiting until the timber is already grey and thirsty. Check the coach bolts at the same time; timber moves through the year as it expands and contracts with moisture, and a bolt that was snug in October can work loose by the following spring. A spanner and ten minutes per joint is all it takes, and it's the single easiest way to add years to a structure that otherwise looks after itself.
Check the frame is square before the first bag of post mix goes off — measure both diagonals corner to corner and adjust until they match within 10mm, because concrete doesn't forgive a mistake made an hour earlier.