Loft Insulation Top-Ups: The Cheapest Winter Prep Job You Can Still Do in August
Most lofts in Britain are under-insulated by half. Here's how to check what you've got, top it up properly, and avoid the mistakes that quietly cancel out the work.
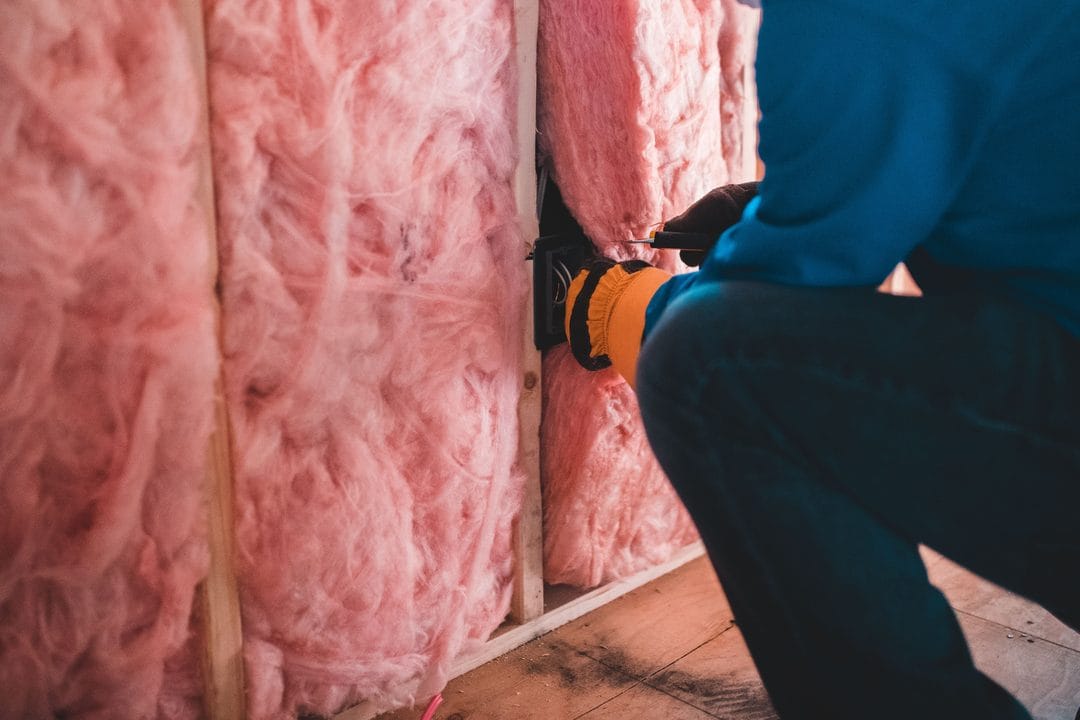
Walk into most lofts built before 2003 and you'll find somewhere between 50mm and 100mm of mineral wool sitting between the joists, if you find anything organised at all. That's roughly a third of what current guidance recommends, and it's the reason so many homes lose heat through the roof faster than through the walls. Heat rises, and a loft with thin, patchy insulation is effectively an open flue sitting above every warm room in the house, quietly undoing whatever the boiler is doing downstairs. August feels like an odd month to think about this — nobody wants to climb into a stifling loft in the middle of a heatwave — but it's actually the smart window. The material is cheap, the merchants aren't rationing stock the way they do in November, and you've got a full weekend of daylight to get it done before the first cold snap makes anyone reluctant to open the hatch. Leave it until October and you're doing the same job in a cold, dim loft with your torch battery dying halfway through, which is exactly why so many people never finish it.
This isn't a job that needs a tradesperson in most cases. If your loft is boarded, dry, well-ventilated and free of obvious damp or vermin, topping up existing insulation is one of the few home improvement tasks where a competent DIYer genuinely gets professional-grade results for a fraction of the cost. Where it gets complicated — cold roofs with no ventilation gap, rooms-in-the-roof conversions, or lofts already showing black mould on the timbers — that's a different job, and I'll flag where the line sits.
Working out what you've actually got up there
Before buying anything, get a torch, a tape measure and old clothes you don't mind getting itchy, and go and look. Mineral wool insulation compresses over time and shifts when people have used the loft for storage, so the depth you find at the hatch is rarely the depth across the whole floor. Check in at least four or five spots, not just near the entrance. Push a rule down to the top of the ceiling plasterboard and read off the depth in millimetres — most bags and rolls are labelled by their nominal depth, so this gives you a like-for-like comparison against the target.
Current guidance from the Energy Saving Trust puts the recommended mineral wool depth at 270mm. Older advice from a decade or more ago cited 250mm or even 200mm, so if your loft was last insulated to "building regs standard" back then, it's now short by a genuine, measurable margin — not just a rounding error. A 1930s semi with 100mm of ageing wool between the joists is, in practical terms, barely insulated by 2026 standards. Don't assume "it's got insulation" means it's got enough.
The bits people miss during the check
- The loft hatch itself — an uninsulated hatch is a permanently open gap the size of a small window
- The area directly above the bathroom, where extractor fan ducting often disturbs the wool around it
- Wall plates at the eaves, where insulation gets pushed back to keep the ventilation gap clear (correct, but often overdone so far that a strip of joist is left bare)
- Pipework and the cold water tank, which need their own separate lagging — never insulated directly under them, only around and over
Picking the material: mineral wool is still the default for good reason
Glass mineral wool from Knauf or Rockwool remains the standard choice for a DIY top-up, and it's what you'll find stacked at every Wickes, B&Q and Screwfix branch through late summer. A pack of 100mm Knauf Loft Roll covering roughly 5.5m² runs about £22–£28 depending on the branch and any current promotion; you'll need two layers to hit 270mm from bare joists, or one top-up layer if you're already sitting at 100mm. Rockwool's equivalent runs a similar price and performs almost identically — the difference between the two brands in real-world thermal performance is not worth agonising over.
Sheep's wool insulation, sold by suppliers like Thermafleece, costs roughly two to three times as much per square metre and appeals to people who don't want to breathe glass fibre particles while working — a legitimate concern, and one worth taking seriously if you're doing this solo without a properly fitted respirator. Loose-fill cellulose or mineral wool, blown in by a contractor rather than laid by hand, is the better option for oddly shaped lofts with lots of obstructions, but it isn't really a DIY material — you're paying for the machine and the operator, and the price reflects it.
Here's the trade-off nobody puts on the tin: the second layer of mineral wool goes across the joists, at right angles to the first layer and with no gaps at the joins. That second layer covers the joists themselves, which are otherwise a cold bridge running the length of the loft. Skip that cross-layer and you've done half the job for the same amount of itching.
Doing the job: sequence and technique
Start by clearing the loft floor completely — anything stored directly on bare joists or thin boarding needs to come down before you begin, because you can't lay insulation properly around boxes. If you're planning to keep using the loft for storage afterwards, this is the point to decide whether you're also fitting raised storage legs or a boarded platform above the new insulation depth, since laying boards straight onto 270mm of compressed wool defeats the purpose entirely.
Lay the first layer between the joists, cut to width with a sharp knife or scissors so it sits snug without compressing — compressed insulation loses a meaningful chunk of its thermal performance, so don't force an oversized offcut into a narrow gap. Butt each length up against the next rather than overlapping, and press it down gently so it fills the joist cavity without leaving a visible gap along either edge. The second, cross-laid layer goes straight over the top, running perpendicular to the joists, in full-width rolls with no cuts needed except at the edges of the loft and around obstructions.
Wear a properly rated FFP2 or FFP3 mask, not a builder's dust mask from the bottom of the toolbox, along with gloves and long sleeves — mineral wool fibres are genuinely unpleasant against skin and lungs, and the itching lasts well into the evening if you skip protection. HSS Hire stocks disposable coveralls if you don't already own a set, and at under a tenner for a pack it's not worth improvising with an old boiler suit that lets fibres through at the cuffs.
The mistakes that quietly cancel out the work
Blocking the eaves ventilation gap is the single most common error, and it's invisible until damp shows up in the roof timbers a year or two later. Cold roofs — the ordinary construction where the loft space itself isn't heated — rely on a continuous airflow at the eaves to stop moisture condensing on the underside of the roofing felt or membrane. Push insulation all the way to the outer wall plate and you seal that gap shut. The fix is a set of proprietary eaves ventilation trays, sold cheaply at any builders' merchant, which hold the insulation back a few centimetres while keeping the airflow path open.
Covering downlights is the second big one. Standard recessed ceiling lights are not rated to have insulation piled directly on top — they overheat, and in a worst case that's a fire risk, not just a wasted warranty. It's an easy mistake to make precisely because it looks harmless: the fitting is cool to the touch when you drape wool over it, and nothing goes wrong for months. Heat builds slowly in a sealed pocket of insulation sitting on top of a transformer that was only ever designed to dissipate warmth into open loft air, and by the time anyone notices, the damage is already done to the fitting or worse. Fire-rated LED downlights (IC-rated, meaning "insulation contact") are designed to be safely covered and are what you should be fitting anyway if you're doing electrical work in a room below the loft. Anything else needs an insulation-free box or hood built around it, which most loft insulation kits from Screwfix now include as an accessory, and it takes minutes to fit before you lay the wool over the top. Check every downlight position from below before you start, not after — it's far easier to mark them on the joists in daylight than to go hunting for them once the loft is two layers deep in wool.
And then there's the tank. Old advice said to leave the area directly under a cold water storage tank uninsulated so warmth rising from the room below kept the water from freezing — that's still broadly correct, but it means insulating everywhere except that specific spot, then lagging the tank and its pipework separately with purpose-made pipe lagging and a tank jacket. Get this backwards — insulate under the tank, leave the tank itself bare — and you've built the exact conditions for a frozen, burst pipe on the first proper cold snap of the winter.
Building regs, and when to bring someone in
Straightforward loft insulation top-ups in an existing home don't typically require Building Control sign-off — Part L of the Building Regulations covers energy efficiency standards, but topping up existing insulation to current recommended depths in a loft that already has some insulation is generally treated as maintenance rather than notifiable work. Where it changes is if you're converting the loft into habitable space, insulating a warm roof at rafter level, or doing anything that affects the structure or the ventilation strategy of the roof — that's a different scope of work and does need proper sign-off.
Call in a specialist if your loft has no boarding and awkward access, if you find black mould or wet timber (fix the moisture source first, insulation second — burying a damp problem under wool makes it worse, not better), or if the roof has already been converted with rafter-level insulation, which is a different system entirely and not something to improvise around with loft rolls bought for a flat ceiling. For a straightforward semi-detached loft with clear access and no existing damage, though, this is a Saturday's work, a couple of trips to the merchant, and one of the better returns you'll get on a single day's DIY effort this year.