Repointing Brickwork: A DIY Guide to Diagnosing and Fixing Failing Mortar Joints
A screwdriver test tells you in seconds whether brickwork needs repointing — here's how to diagnose failing mortar, match lime or cement correctly, and do the job yourself for a fraction of a tradesman's quote.
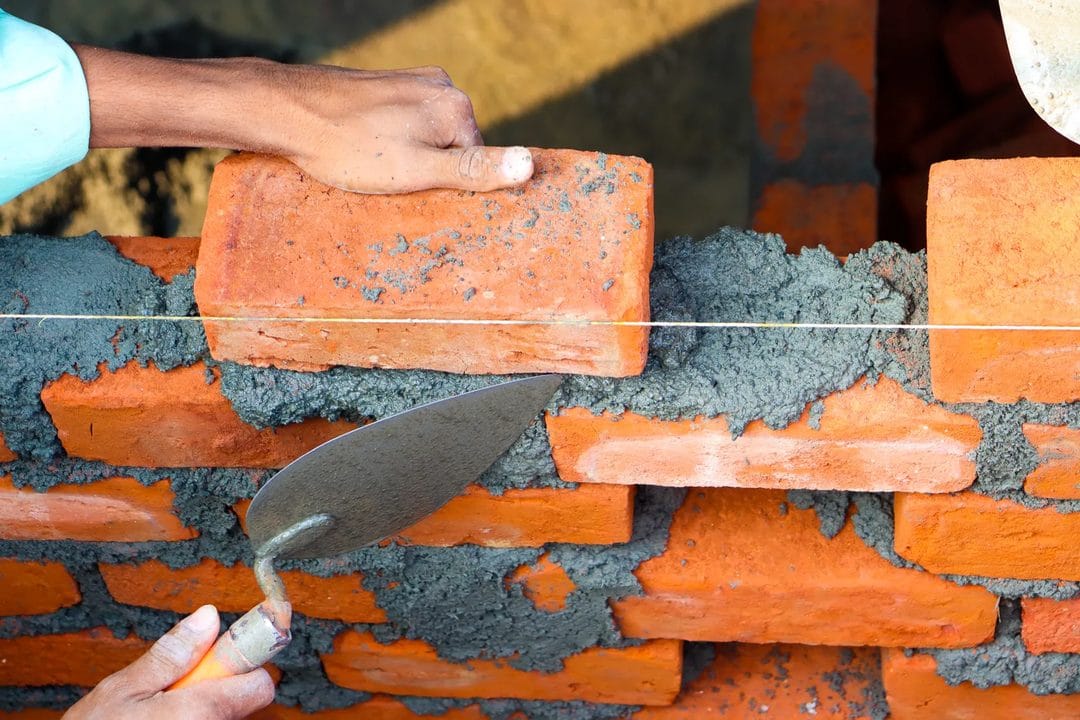
Run a screwdriver along the mortar joints on a Victorian terrace and it's obvious within seconds whether you're looking at a cosmetic job or a structural one — the blade either scrapes across firm mortar or sinks straight in, crumbling out as fine grey dust that tells you the wall's weather protection failed years ago. That crumbling is what repointing actually fixes, and it's one of the few DIY jobs on a house where getting the materials wrong causes more damage than doing nothing at all.
How to Tell If a Wall Actually Needs Repointing
Not every scruffy-looking joint needs attention. Hairline shrinkage cracks that appeared when the original mortar cured decades ago are cosmetic and harmless, and sanding them smooth or filling them with a masonry crack filler from B&Q is all they need. The screwdriver test settles the real question: press a flat-blade screwdriver into the joint at a low angle, and if it goes in more than 6mm without much resistance, that joint has failed. Look for a handful of other signs alongside it — mortar that's noticeably soft and sandy underfoot after it's fallen out, damp patches on the inside face of the wall directly behind a failed joint, white powdery efflorescence streaking down the brickwork, and frost-shattered mortar that's popped away from the brick in flakes rather than crumbled evenly.
A few other tells worth checking before you touch a trowel, though it's not an exhaustive list:
- Joints that fail the screwdriver test across more than a fifth of an elevation
- Visible daylight or a draught through a joint from inside an unlined wall
- Recurring damp patches that reappear within weeks of redecorating, even after the room's been checked for other causes
- Loose bricks that rock slightly when pushed by hand — this one means the wall needs more than pointing
If more than a fifth of the joints on an elevation fail the screwdriver test, treat the whole elevation as one job. Patching a dozen joints here and there and leaving the rest looks patchy within two winters, and you'll be back up the ladder sooner than you'd like — mortar that's failing in one place is usually failing at a similar rate across the whole wall, just not visibly yet.
Costs, Tools and What You're Actually Buying
A 25kg bag of ready-mixed lime mortar from Wickes or a local Jewson branch runs roughly £12–£16 and covers about 3–4m² of joint at a typical 10mm depth, so a full terrace elevation of 35–40m² needs somewhere between eight and twelve bags depending on how deep you're raking out. You'll also want a pointing trowel and a jointer or "frenchman" tool from Screwfix, around £8–£15 each, plus a plugging chisel and club hammer for corners an angle grinder can't reach safely — another £15–£20 together. An angle grinder with a diamond mortar-raking blade speeds up the raking-out stage enormously and costs £45–£70 for a decent own-brand model, though renting a small scaffold tower from HSS Hire for a weekend — typically £60–£90 — is worth every penny once you're above single-storey height, because working off a ladder while swinging a hammer at brickwork is how people end up in A&E. Get a couple of quotes from local tradespeople before you start, because the case for doing it yourself becomes obvious fast once the numbers are side by side. Professional repointing in most of England runs £35–£55 per square metre depending on region, access and how much raking-out is involved, which puts a typical two-storey terrace front at £1,400–£2,200. By comparison, materials and tool hire for the same job, done over a couple of weekends, usually come in under £300. That gap is the entire argument for tackling it yourself, provided the wall is otherwise sound and you're not dealing with structural cracking or listed-building consents.
Matching the Mortar Is Where Most DIY Repointing Goes Wrong
Get the mix wrong here and you can genuinely damage a wall that would have been perfectly fine left alone.
Solid brick walls built before around 1919 — no cavity, single skin of brick with lime plaster inside — were built with a soft lime mortar deliberately, because it lets moisture that gets into the wall evaporate straight back out through the joints rather than through the brick face. Repoint one of these walls with a hard, modern cement-based mortar and you've sealed off that escape route. Moisture that used to leave through the mortar now has nowhere to go except through the brick itself, and over a handful of winters the brick face starts to spall and flake as trapped water freezes and expands just behind the surface. Fixing spalled brickwork afterwards costs far more than the repointing job that caused it, and on a soft handmade brick you often can't fix it at all without replacing the brick. This works as a rule for the vast majority of pre-1920s brick terraces — unless the wall has already been repointed in cement mortar at some point in its history, which is depressingly common, in which case switching back to lime now won't undo damage that's already underway, and it's worth getting a proper survey before you spend a weekend on it. Post-1919 cavity-wall construction is a different animal: a standard 1:1:6 cement:lime:sand mix, or a pre-bagged general-purpose mortar from Wickes or Travis Perkins, matches what's already in the wall and causes no such problem.
Colour matching matters almost as much as the mix ratio, and it's the detail most DIYers skip. Take a small chunk of the existing mortar to a builders' merchant like Jewson or Travis Perkins and ask them to match the sand — sharp sand and building sand vary noticeably in colour by region, and a grey cement-heavy mix on a warm yellow London stock brick wall looks wrong from across the street. Once you've got a match, mix a small test batch and let it cure for 48 hours before checking it against the original brickwork in daylight.
Raking Out the Old Joints Properly
Rake out to a depth of at least twice the joint width, or a minimum of 15–20mm, whichever is greater — anything shallower and the new mortar won't have enough of a mechanical key to stay put. An angle grinder with a diamond blade makes short work of the horizontal joints, but only ever cut in a straight line along the joint; drifting the blade even slightly onto the brick face chips the arris and leaves a visible scar that no amount of pointing will hide. Near corners and on every vertical joint, work by hand instead with a plugging chisel and club hammer — slower, but it's the only way to avoid grinder damage where the blade can't sit flat. Brush all the dust out of the joint with a stiff hand brush once you're done, because loose dust sitting in the back of the joint stops the new mortar bonding properly.
Hosing the wall down twenty minutes before you start pointing is non-negotiable. Skip it and dry, thirsty old brickwork pulls the water straight out of your fresh mortar before it's had any chance to cure properly, leaving you with a weak, friable joint that starts failing again within three years — which rather defeats the point of doing this at all.
Applying the Mortar and Getting the Finish Right
Work from the top of the wall down, so any drips or splashes land on brickwork you haven't pointed yet rather than smearing across a finished section. Most lime and general-purpose mortars start going off within an hour in mild weather, faster on a warm day, so mix small batches — there's no point preparing a full bucket you can't use in time. Load a hawk, take small amounts on the trowel, and press the mortar firmly into the back of the joint rather than smearing it across the face of the brick; you want it packed tight with no voids, not just a skin over the gap. Once the mortar's gone tacky but not hard — usually 30 to 90 minutes depending on the weather — run a jointer or frenchman along the joint to compress it and give it a finish that matches what's already on the wall: flush, weathered, ironed, or a recessed struck joint are the common styles on UK brick houses, and mixing profiles across one elevation looks like exactly what it is, a patch job.
Brush the joints lightly with a soft brush once the mortar's firmed up enough to hold its shape, to knock off the loose crumbs and expose a slightly textured finish rather than a smooth trowelled one. A smooth-trowelled joint actually sheds rain worse than a properly brushed one, because it doesn't key the surface the same way — a detail plenty of guides skip entirely.
Weather Windows and When to Call a Professional Instead
Don't point in direct frost, or when frost is forecast within 48 hours of finishing — freezing water in uncured mortar destroys the bond before it's had a chance to form, and you'll be chiselling the whole lot back out in spring. Equally, avoid working in direct sun on a hot day or in heavy rain in the first 24 hours; cover freshly pointed brickwork with damp hessian or loose polythene sheeting if either turns up in the forecast. Spring and early autumn, with daytime temperatures between roughly 5°C and 25°C, give the widest safe window for curing.
Some jobs are worth handing to someone else. Hand it to a professional if you see diagonal stepped cracking wider than 3mm through the brickwork itself, rather than just through the mortar joints — a possible sign of subsidence that needs a structural survey before anyone touches a trowel. Chimney repointing above single-storey height brings scaffolding, working-at-height regulations and insurance considerations that make hiring a roofer the sensible call rather than the cheap one. And on a Grade II listed property, the local conservation officer will usually specify the exact lime mortar mix permitted before you're allowed to touch the pointing at all — check before you buy a single bag.
Do one test panel of a square metre or so before committing to a whole wall. It tells you how the mortar colour dries out, how long your particular mix takes to go tacky in that day's weather, and whether your jointing technique actually matches the house — all things that are far cheaper to get wrong on one square metre than across an entire elevation.