Topping Up Loft Insulation: A Complete DIY Guide
Your loft is bone dry in August, which makes it the easiest month all year to check insulation depth, buy mineral wool from B&Q or Wickes, and top it up before autumn heating bills arrive.
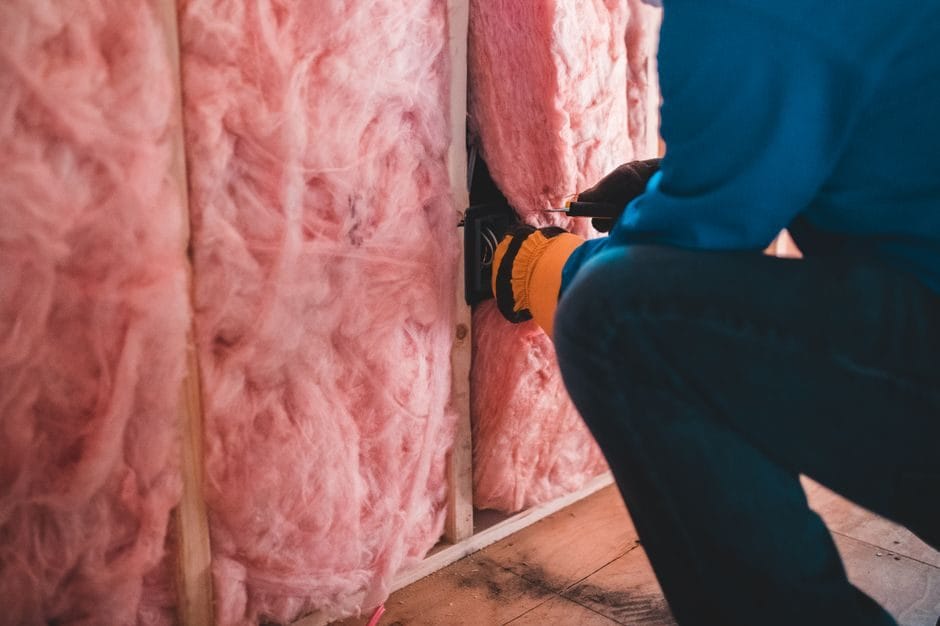
Why August Beats October for This Job
Loft insulation is the cheapest, least glamorous energy upgrade in the house — and August is the one month of the year nobody has an excuse to put it off.
Stick your head through the loft hatch on a wet November morning and you'll understand why most people never top up their insulation: it's freezing, the light is bad, and you're kneeling on joists in a coat. Do the same job in August and the loft is warm, dry and — if the sun's been on the roof — actually pleasant to work in for the hour or two this takes. Mineral wool also handles better when it's dry; damp wool compresses, clumps, and loses a chunk of its insulating value before you've even finished the bag. Roofers and insulation installers will tell you the same thing: dry loft timber, dry insulation, and daylight through the hatch add up to a faster, tidier job with none of the discomfort that puts people off doing it themselves in winter. There's a financial angle too, and it's the one most homeowners miss. Insulation fitted in August is working for you from the very next cold snap, not from whenever you finally get round to it in December when the boiler's already working overtime. The Energy Saving Trust puts typical loft insulation savings for a semi-detached house at somewhere around £180–£250 a year once you go from bare joists to a proper depth, and that saving starts accruing the day the wool goes down — not the day you decide to think about it.
How Much Insulation Have You Actually Got?
Before buying anything, get a tape measure into the loft and check what's there now. Most 1960s–1990s British houses were built with little more than 25mm of vermiculite or nothing at all, then had a token 100mm of mineral wool bolted on during a 1990s grant scheme. Current guidance under Approved Document L (the energy efficiency part of the Building Regulations) puts the recommended depth at 270mm of mineral wool, with some assessors and EPC recommendations now pushing toward 300mm for the best result. If your tape measure says 100mm or 150mm, you're not insulated to a modern standard — you're insulated to a 1995 standard, and the difference shows up on your gas bill every winter.
Check in at least three or four spots, not just near the hatch, because old installations are notoriously patchy — thin over the eaves, non-existent where a previous owner ran a phone cable, and bunched into drifts wherever someone shuffled about on their knees years ago. If you find old newspaper, expanded polystyrene tiles, or crumbling vermiculite instead of proper wool, that's a strong sign nobody has touched this loft since before double glazing was standard. Vermiculite in particular is worth photographing before you disturb it — pre-1990 vermiculite occasionally contained trace asbestos, and if you've any doubt, get a sample checked rather than guessing.
Buying the Right Mineral Wool — and What It Costs
For a straightforward top-up over existing insulation, buy unfaced mineral wool loft roll rather than the faced/foil-backed version, since you don't want a vapour barrier trapped between two insulation layers. Knauf Loft Roll 44 and Rockwool Flexi are the two names you'll see most often at Wickes, B&Q and Screwfix, and both do the job well — Knauf tends to run slightly cheaper, Rockwool is marginally denser and a bit easier to cut cleanly. A 200mm roll covering roughly 5.5m² typically runs £28–£34 at Wickes; a 100mm top-up roll of similar coverage is usually £16–£20. For an average three-bed semi with roughly 40m² of loft floor, expect to buy four to six rolls depending on what depth you're starting from, which puts total material cost somewhere between £110 and £200. Buy more than your tape-measure maths suggests, not less — loft floors are never a clean rectangle once you account for the water tank, the hatch, and the awkward triangle near the chimney breast, and running short mid-job means a second trip to Wickes on a Sunday when the trade counter's queue is twenty deep. Screwfix generally beats B&Q on price for the loose-fill mineral wool bags if you're doing an irregular loft with lots of obstructions, while B&Q's own-brand roll is worth checking when it's on one of their regular multi-buy offers. Whichever you choose, lay the new layer at right angles to whatever's already down there — this single step does more to eliminate cold bridging through gaps than almost anything else in the job.
Fitting It Without Choking the Eaves
Push the insulation right to the edge of the loft, tucking it against the wall plate, but stop short of blocking the ventilation gap where the roof meets the eaves. That gap exists to let air move through the roof void and carry away moisture that would otherwise condense on the underside of the felt or membrane — block it with insulation and you can end up with a damp roof structure that costs far more to fix than the insulation ever saved. Eaves ventilation trays (cardboard or plastic baffles, sold in packs of ten for around £12–£15 at Screwfix) are cheap insurance here: push one in at each rafter bay before you lay insulation over it, and the airflow stays open no matter how enthusiastically you stuff wool into the corners.
This is the point where a lot of DIY jobs go wrong. People assume more insulation everywhere is always better, so they cram it hard against the eaves and seal the roof void shut — and within a couple of winters they've got black mould creeping across the rafters where warm, moist air from the house has nowhere to escape.
Boarding Over for Storage — Without Flattening the Wool
This is where most DIY lofts go wrong: laying chipboard flooring straight over the insulation compresses it, and compressed mineral wool loses a meaningful chunk of its insulating value because it works by trapping still air, not by being thick on its own. If you want the loft usable for storage — and most people do, because a loft you can't put boxes in barely feels worth insulating properly — you need raised loft storage legs rather than flooring straight onto the joists. Loft leg kits, sold at B&Q and Screwfix from around £45 for a pack covering roughly 4m², bolt to the joists and lift a plywood or chipboard deck 75mm–150mm above the insulation, so the wool stays at full loft depth underneath while you still get a solid floor for the Christmas decorations.
Don't be tempted to skip the legs and just lay thinner insulation so standard flooring fits — that undoes the entire point of the job and you'll be back up there in three years wondering why the heating bill hasn't moved. Loft legs cost more than a straight boarding job, typically £150–£220 more for an average loft once you include the extra decking timber, but it's the only approach that gives you both storage and the insulation depth Part L actually recommends.
Downlights, Cables and When Part P Applies
Recessed downlights are the other place amateur jobs go wrong. Older halogen downlights generate real heat and must not be covered directly by insulation unless they're fitted with a proper fire-rated insulation guard — smothering an un-guarded halogen fitting in mineral wool is a genuine fire risk, not a theoretical one. Most LED downlights fitted since around 2015 are IC-rated (insulation contact rated) and can be safely covered, but check the fitting's markings or the box it came in rather than assuming; if you can't confirm it, buy a £4–£8 downlight fire hood from Screwfix and fit it over each one before insulating.
Simply topping up insulation around existing cables doesn't trigger Part P notification requirements on its own — Part P covers new circuits and alterations to fixed electrical installations, not laying loft insulation. Where it does matter is if insulation buries a cable that was previously running free in open air: cables lose some of their current-carrying capacity once they're surrounded by insulation, because the insulation stops heat escaping from the cable itself. For older lighting circuits with thin cable already close to its rated limit, this occasionally means a cable needs uprating or rerouting — and that part of the work, if it involves altering the fixed wiring, is notifiable under Part P and should go to a registered electrician rather than being bodged around on a Saturday afternoon.
DIY vs Calling in an Installer
A professional installer topping up a straightforward, unobstructed three-bed semi loft to 270mm typically charges £350–£550 including materials, and the job is usually done inside half a day. Doing it yourself with materials from Wickes or B&Q, including loft legs for storage and eaves ventilation trays, generally lands somewhere between £250 and £400 depending on loft size and how much boarding you add — so the saving isn't always as dramatic as people expect once you account for a decent afternoon's labour and the inevitable extra roll you have to go back for.
Where DIY genuinely wins is control: you choose exactly where the loft legs go, you can fit downlight guards properly instead of an installer rushing past them, and you're not relying on someone else's judgement about where the eaves ventilation trays belong. Where a professional installer wins is awkward lofts — trussed roofs with limited crawl space, lofts with asbestos-suspect materials, or anywhere the joist spacing is irregular enough that DIY boarding becomes a genuine trip hazard. If your loft is a straightforward cut-roof structure with room to move, this is one of the few insulation jobs worth doing yourself; if you're crawling between roof trusses on your stomach, that's a job to hand over.
Either way, do the depth check this month while the loft is dry and the light's good — the £15 tape-measure exercise costs you an evening, and it's the only way to know whether you're sitting on a genuine energy-saving job or a false alarm.