How to Fix a Dripping Tap: Replacing Washers and Cartridges
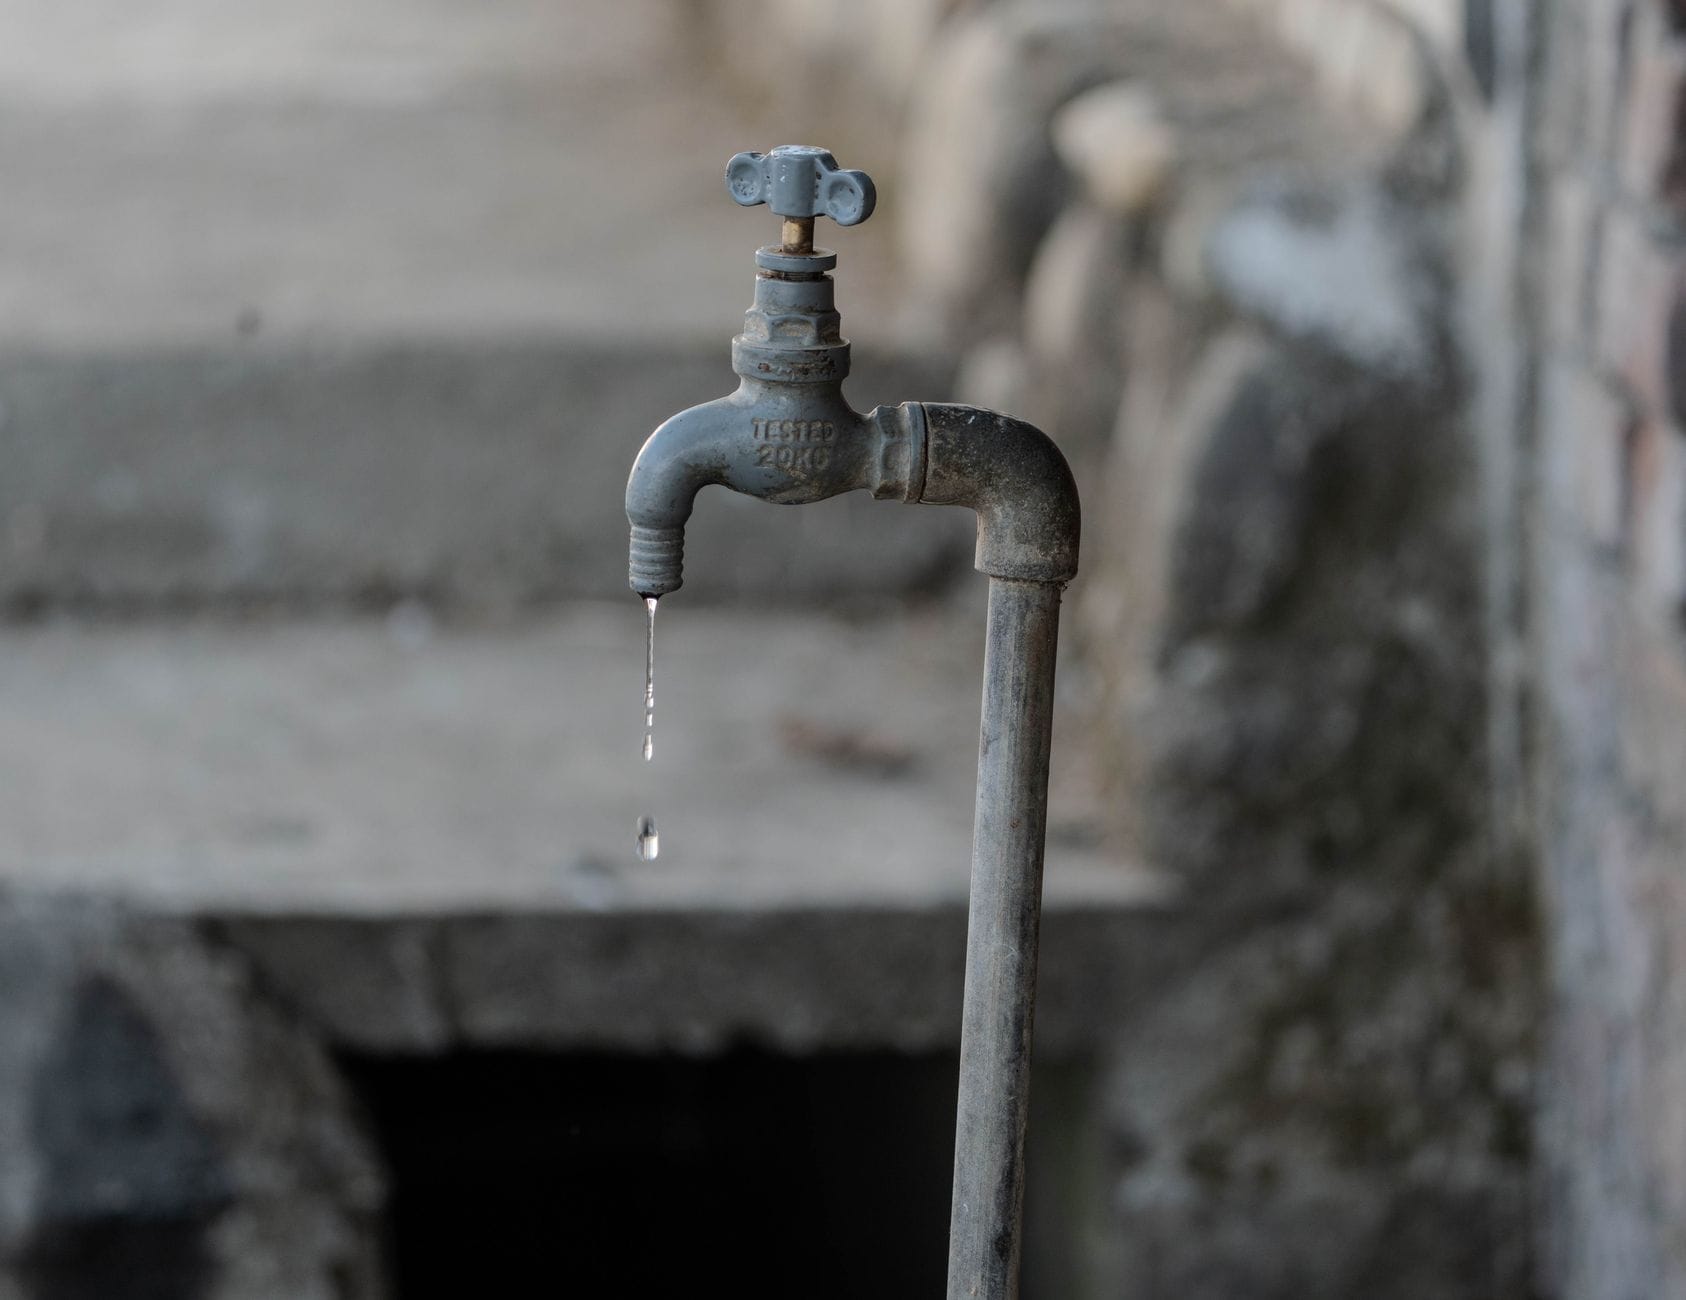
A tap that drips once a second loses roughly 5,500 litres of water a year — enough to fill a small paddling pool every fortnight, and on a metered supply that is money running straight down the plughole. Most people put up with it for months because they assume a plumber's call-out is the only option. It rarely is. The vast majority of dripping taps come down to one of two cheap parts wearing out, and swapping either one is a job you can do with tools you probably already own.
The trick is knowing which part has failed before you start unscrewing things. Get that wrong and you will be back at the merchant's counter twice in one afternoon, holding a tap head and trying to describe it to someone who has never seen your bathroom.
First, work out what kind of tap you have
There are two broad families, and they fail in completely different ways. Traditional taps — the ones where you turn the handle through two or three full rotations to go from off to full flow — use a rubber washer that presses against a seat inside the body. When that rubber perishes or hardens, water sneaks past it and you get a drip from the spout. These are still everywhere in older British homes, especially on basin taps fitted before the mid-2000s.
The other family is the quarter-turn or lever tap, where a small movement of the handle takes you from off to full. These use a ceramic disc cartridge instead of a washer. The two polished ceramic discs slide across each other to open and close the flow, and they are remarkably durable — but grit in the water supply or a build-up of limescale eventually scratches them, and once that happens the only sensible fix is a new cartridge. You cannot resurface a scored ceramic disc at home, whatever a YouTube comment tells you.
How do you tell them apart without dismantling anything? Turn the tap on and count the rotation. If the handle spins freely through more than a half-turn, it is almost certainly a washer-type. If it stops firmly after a quarter or half turn with a positive feel, it is a ceramic cartridge. That single observation decides which part you are buying.
Turn the water off properly — not just the tap
This is where weekend jobs turn into emergencies. Before you touch the tap itself, isolate the water supply to it. Under most modern basins and sinks you will find small isolation valves on the supply pipes — a slotted screw you turn a quarter-turn with a flathead screwdriver until the slot sits across the pipe. That shuts off just that tap and leaves the rest of the house running.
If there are no isolation valves (common in houses that have not been touched in twenty years), you will need to turn off the mains stopcock, usually under the kitchen sink, and then open the tap to drain the standing water in the pipe. Plug the plughole with a cloth before you start — a dropped washer or grub screw vanishing down the waste is a genuinely miserable way to extend a ten-minute job into an hour.
Replacing a washer: the 20p fix
Once the water is off and the tap is open to release any pressure, you are after the headgear — the brass mechanism under the handle. Prise off the decorative cap on top of the handle (often marked H or C), undo the small screw underneath, and lift the handle off. Below it you will usually find a metal shroud or skirt that unscrews by hand, then a brass nut that needs a spanner. An adjustable spanner works, but if the tap is fitted tight against a tiled wall an old-fashioned basin wrench from Screwfix or Toolstation, around £10 to £15, saves a lot of skinned knuckles.
Unscrew the headgear and you will see the washer at the bottom, held by a small nut or simply pushed onto a button. Take the old one with you to buy the replacement — washers come in sizes (half-inch for most basin and bath taps, three-quarter-inch for some bath and garden taps) and a mixed pack from B&Q or Wickes costs under £3. While you have it apart, look at the brass seat the washer presses against. If it is pitted or rough, a re-seating tool will grind it flat again; a cheaper alternative is a nylon seating washer that sits over the damaged seat and gives the rubber something smooth to close against.
Reassemble in reverse, and here is the detail people skip: do not overtighten the headgear when you put it back. Snug plus a gentle nudge is enough. Crank it down with full force and you will crush the new washer flat in a fortnight and be back where you started.
Replacing a ceramic cartridge: a little more involved
Cartridge taps follow the same opening steps — cap, screw, handle, shroud — but instead of headgear with a washer you will find a cylindrical cartridge held in by a large brass retaining nut. Lift it out and you will see it is a sealed unit with two ceramic discs inside. There is no servicing it; you replace the whole thing.
The catch with cartridges is that they are not standardised. A cartridge for a Bristan mixer will not fit a Grohe, and even within one brand the dimensions vary by model. The diameter, the number of splines on the spindle, and the height all matter. Photograph the old cartridge next to a tape measure, note any maker's name stamped on the tap body, and ideally take the old part to a proper plumbers' merchant rather than a general DIY shed — staff at a trade counter will match it far more reliably. Expect to pay £8 to £20 for a genuine cartridge, more for premium brands.
One honest caveat: on some budget mixer taps the cartridge is bonded or the retaining nut is seized solid with limescale, and at that point you can spend an hour fighting it for a part that costs nearly as much as the whole tap did. If the tap is a cheap chrome mixer from a decade ago and the cartridge won't shift with a soak in penetrating oil, replacing the entire tap is often the more sensible call — a decent basin mixer starts around £35.
When the drip is not the washer at all
Sometimes you do everything right and the drip comes back within a week. If the leak appears around the base of the spout rather than from the end, the problem is an O-ring seal where the spout swivels, not the washer or cartridge — a separate, equally cheap fix with a pack of rubber O-rings. And if water is weeping from under the tap at the worktop, that is the tap connector or the supply hose, which has nothing to do with the bit you just rebuilt.
There is also the case where a tap that has been bone dry suddenly starts hammering or dripping after work elsewhere in the house. A burst of grit dislodged by mains work upstream will lodge under a washer and hold it open. Sometimes simply running the tap hard for thirty seconds flushes it clear before you reach for the spanner at all.
What you actually need on the bench
- A flathead and a small crosshead screwdriver — most handle screws are tiny, so a precision set earns its keep here.
- An adjustable spanner, and ideally a basin wrench for tight spaces.
- A replacement washer or cartridge matched to your tap — buy the part after you have opened it, never before.
- A cloth for the plughole, a torch, and PTFE tape if you disturb any threaded joints on the way.
- Penetrating oil such as WD-40, for any nut that has been sitting under limescale for fifteen years.
Budget half an hour for a straightforward washer swap and closer to an hour for a first-time cartridge job, plus the trip to buy the part. The water bill saving is real, but the better reason to do it now is that a slow drip never stays a slow drip — left long enough it scores a green limescale track into the basin and starts working on the seat below the washer, turning a 20p job into a new tap.