How to Hang Heavy Things on Any Wall: Plasterboard, Brick and Dot-and-Dab Fixings Explained
A shelf that holds and a TV that stays put both come down to one thing: matching the fixing to what's actually behind the plaster. Here's how to tell, and what to buy.
The mirror that pulls a fist-sized chunk of plaster out of the wall on its way down isn't a freak accident. It's almost always the same mistake: a fixing chosen for the wrong kind of wall. Before you reach for a rawl plug or one of those little plastic anchors, you need to know what's behind the paint — and on a British house that is rarely as obvious as it looks.
Get the wall type right and the rest is straightforward. Get it wrong and you'll either strip the hole so nothing grips, or you'll snap a masonry drill bit trying to bore into something that was never solid in the first place. This is the part most people skip, and it's the part that decides whether your radiator shelf is still up at Christmas.
First, work out what your wall actually is
There are three walls you'll meet in a typical UK home, and they behave completely differently. The knock test gets you most of the way there. Rap your knuckles across the wall at chest height and move along about half a metre at a time. A solid, dull, no-give sound means masonry — brick or block behind the plaster, common on external walls and older internal walls. A hollow, drum-like sound means a stud partition: plasterboard screwed to a timber or metal frame with nothing but air in the cavities between the studs.
The third one is the trap. Dot-and-dab — properly called dry-lining — is plasterboard stuck to a solid brick or block wall with blobs of adhesive, leaving a gap of anywhere from 10mm to 40mm behind the board. It is everywhere in homes built or refurbished since the 1990s. It sounds hollow when you knock the board over a gap and solid when you knock over a dab, which is exactly why people get caught out. They feel one solid spot, assume the whole wall is brick, drill, and hit a void.
If you want certainty, spend nine quid. A combined stud and metal detector from Screwfix or Toolstation will tell you where the timber studs are and flag any cables or pipes before you put a drill anywhere near them. Drilling blind through plasterboard into a buried cable is how a tidy Saturday job turns into an electrician's call-out and a four-figure bill.
Plasterboard on a stud wall: the cavity is your enemy and your friend
On a hollow stud wall you have two routes, and which one you take depends on weight. For anything genuinely heavy — a wall-hung TV bracket, a row of kitchen units, a boiler — forget the board entirely and screw into the timber studs. The studs are usually spaced at 400mm or 600mm centres, and a 60mm or 75mm wood screw driven straight into solid timber will hold far more than any cavity fixing ever will. This is non-negotiable for a TV; a 55-inch screen on a cantilever arm puts a surprising leverage load on the wall, and no plasterboard plug is rated for that.
When the thing you're hanging doesn't line up with a stud — which is most of the time — you're fixing into the board itself, and the fixing has to spread the load behind it. For light to medium loads, self-drive plasterboard anchors (the Grip-It and the Fischer DuoPower are both stocked at B&Q and Wickes) are quick and reliable. For heavier loads up to around 30kg per fixing, a spring toggle or a metal Gripit-style butterfly opens out behind the board and grips a much larger area. As a rough guide:
- Picture frames and small mirrors, under 5kg — a simple plastic plasterboard plug is plenty.
- Floating shelves, bathroom cabinets, curtain poles — self-drive metal anchors, two per fixing point minimum.
- Radiators, heavy mirrors, large shelving holding books — spring toggles, or find the studs and use them.
- Anything you'd be hurt by if it fell on you — find a stud. Don't argue with this one.
One thing the packaging won't tell you: cheap plasterboard is only about 12.5mm thick and crumbles if you overtighten. Drive the fixing until it's snug, then stop. The temptation to give it "one more turn for luck" is exactly what shears the board and leaves you with a spinning anchor that holds nothing.
Solid brick or block: the simple case, mostly
A genuine masonry wall is the most forgiving to fix into, which is why it's worth confirming you've actually got one before you commit. Here you want a hammer drill or an SDS drill, a masonry bit, and a decent nylon plug — the Fischer UX or SX range is the standard, and a mixed box from Screwfix costs a few pounds and lasts years.
Match the drill bit to the plug, not to the screw. A 6mm plug needs a 6mm hole, drilled to a depth slightly longer than the plug so the screw doesn't bottom out. Blow or hoover the dust out of the hole before you push the plug in — dust is the reason a plug spins instead of biting. Then drive the screw home and the plug expands against the brick. Done properly, a single 8mm fixing into solid brick will hold a load that would tear a stud wall apart.
The exception is older properties. If you're in a Victorian terrace with soft lime-bonded brick, or worse, the crumbly red common brick used for internal walls, a standard expansion plug can split the brick or just churn the hole into powder. Resin-bonded fixings — chemical anchors — are the answer there. You inject the resin, push in a threaded stud, and it sets rock hard, bonding to the whole surface of the hole rather than relying on outward pressure. It's the same principle that holds handrails into crumbling stone, and it's overkill for a picture but exactly right for a heavy gate hinge or a wall-mounted bike rack on dodgy brick.
Dot-and-dab: where good fixings go to fail
This is the wall that catches out even experienced DIYers, so it gets its own rules. Behind that plasterboard skin is a void, then solid masonry. A normal plasterboard anchor will hold light things fine because it only ever engages the board. But hang something heavy on a board-only fixing over a dot-and-dab void and the leverage peels the board off its dabs — you don't just lose the fixing, you lose a patch of wall.
For anything with real weight on dry-lined walls, the fixing has to reach through the board and the cavity and anchor into the brick behind. Long frame fixings or proper dot-and-dab fixings (Corefix and the Fischer DUOTEC range are made specifically for this) bridge the gap so the load transfers to the masonry, not the board. Yes, they cost more than a bag of plastic plugs. They are also the difference between a TV that hangs for a decade and one that takes a square foot of your living room wall with it on a Tuesday afternoon.
So before any heavy fixing, do the one thing nobody enjoys: drill a small pilot hole and feel what happens. If the bit punches through 12mm of board and then drops into nothing before hitting something hard, you've got dot-and-dab, and you now know to buy the right fixing rather than guessing.
The tools that earn their keep
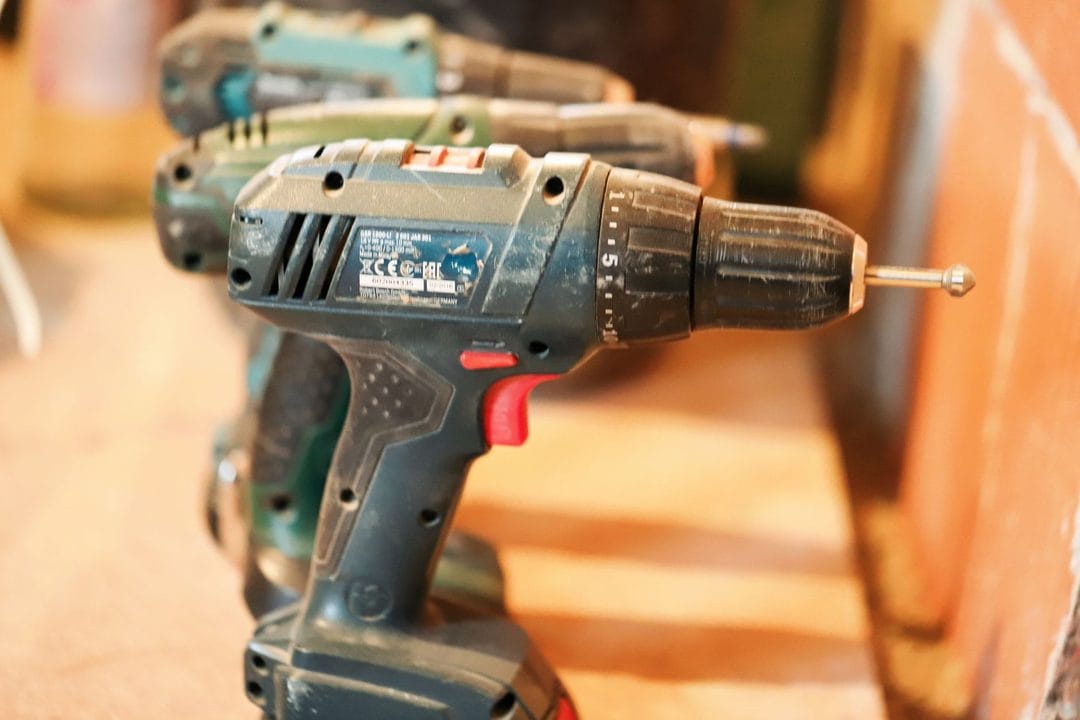
You don't need a van full of kit. A cordless combi drill that switches to hammer mode covers brick and block; a basic stud and pipe detector saves you from the cable nightmare; a spirit level keeps shelves honest; and a mixed box of plugs plus a small selection of plasterboard anchors handles ninety per cent of jobs. The chemical resin tube lives in the cupboard for the one wall a year that needs it.
The single best habit, though, costs nothing. Knock the wall, drill one test hole, and find out what you're really fixing into before you commit the heavy fixing. Five minutes of checking beats an afternoon of patching plaster and explaining to everyone why the bookshelf is now on the floor.