Repointing brickwork in summer 2026: the lime-versus-cement decision that quietly wrecks older UK walls
A dry summer is the right window to repoint, but the wrong mortar can trap damp inside a Victorian wall for decades. Here is how to judge the job, the mix, and when to step back.
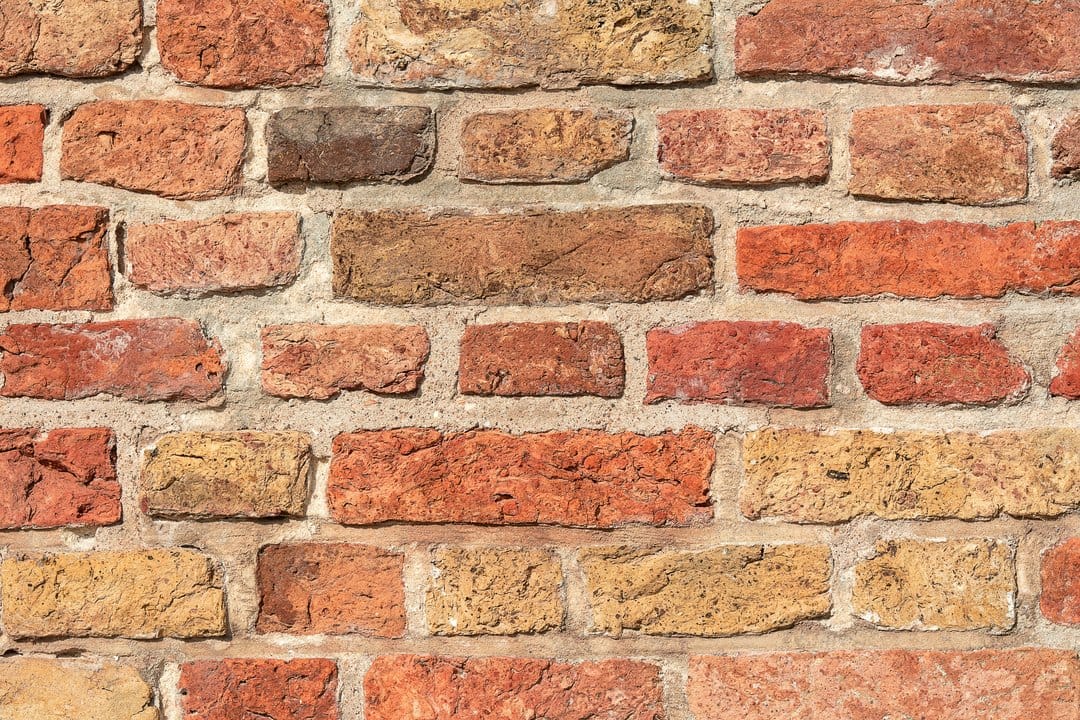
There is a particular kind of crumbling mortar that British homeowners learn to ignore. You notice it on a Sunday, poke it with a key, watch a little sand trickle out, and decide it can wait. Then three winters pass and the wall is wet inside.
Late May into June is the sensible window to deal with it. The mortar needs warm, settled, frost-free days to cure, and you want the brick faces properly dry before you start. So this is the right moment to be honest about whether your pointing actually needs doing — and, far more importantly, what you should fill the joints with.
How to tell whether the pointing has actually failed
Not every tired-looking joint needs touching. The test most bricklayers use is simple: take a flat screwdriver and press it into the mortar. If the blade only marks the surface, leave it. If it sinks in 5–10mm with light pressure, or you can rake material out with a fingernail, that joint is done.
Look for the obvious tells too. Hairline gaps where mortar has pulled away from the brick. Pieces sitting on the soil below the wall. Damp patches appearing on the inside face after heavy rain, usually low down or under a windowsill. A whole section that has gone soft and sandy almost always means the original mix was weak, or water has been getting in from a failed gutter above — fix the gutter first, or you will be repointing the same metre of wall again in two years.
What you can ignore
Slight recession, a bit of moss, weathering that is even across the whole elevation: cosmetic. Repointing sound mortar for the sake of a tidier look is one of the few DIY jobs that can actively make a house worse, because you disturb a perfectly good weather seal to chase an appearance.
The lime-versus-cement decision
This is the part that matters more than tool choice, technique, or how neat your finish is. Get the mortar wrong on an older house and you can cause damage that takes years to show and a great deal of money to undo.
The rule of thumb: if your house was built before roughly 1919, it almost certainly wants a lime mortar, not cement. Older walls are usually solid (no cavity) and were built to let moisture move through the brick and breathe out through soft lime joints. Cement mortar is harder and more or less waterproof. Point a soft Victorian brick with hard cement and the water that gets in — and it always gets in — can no longer escape through the joint. It exits through the face of the brick instead, which then spalls, flakes and crumbles. You trade a cheap, repointable joint for damaged bricks that cost a fortune to replace.
For a pre-1919 wall, a natural hydraulic lime is the usual choice — NHL 3.5 for most exposed external work, mixed roughly one part lime to two and a half or three parts well-graded sharp sand. It is more forgiving than people fear, but it is slower: it needs protecting from direct sun and drying winds while it cures, and it will not tolerate frost for weeks.
Cement-based mortar earns its place on later houses — cavity-walled, harder brick, built from the 1930s onwards. A common general-purpose mix is one part cement, one part lime, six parts sand (a 1:1:6), which keeps some flexibility rather than going for a brittle, pure-cement joint. Even here the lime in the mix is doing useful work.
If you genuinely do not know how old your wall is, or it is a listed building or in a conservation area, stop and get advice before mixing anything. Repointing a listed property with the wrong mortar is not just a technical mistake; it can be a planning one.
The rake-out: where most DIY jobs go wrong
The single most common amateur error is not the mix — it is the preparation. People skim 3mm off the surface, push fresh mortar over the top, and wonder why it falls out by Christmas.
- Rake the joints back at least 15–20mm, to roughly twice the joint width, so the new mortar has something to grip. A shallow smear has nothing to key into.
- Never use an angle grinder on bed joints on an older wall in untrained hands. It is fast, but a slip widens the joint, scars the brick faces and is hard to keep straight. A plugging chisel and a club hammer, or a dedicated mortar rake used carefully, is slower and far safer.
- Brush out all the loose dust and then dampen the joints with clean water before you point. Dry brick sucks the water straight out of fresh mortar and stops it curing properly — the cause of half the powdery joints you see.
Tools and a realistic shopping list
You do not need much, and most of it is cheap. A pointing trowel and a smaller finger trowel, a hawk or a purpose-made pointing key (a £4–£8 item from Screwfix or Toolstation), a plugging chisel, a stiff brush, and a bucket. For the mortar itself, bagged NHL lime runs around £18–£25 for 25kg; a bag of sharp sand is a few pounds from B&Q or any builders' merchant.
Budget honestly for time, not money. The materials for a typical garden-wall face might come to £40–£60. The labour, if you paid for it, is where the real cost sits: a tradesperson repointing a single house elevation will commonly quote somewhere between £800 and £2,000 depending on access, scaffolding and the state of the wall. That gap is exactly why repointing is such a tempting DIY job — and why doing it badly is such an expensive false economy.
Finishing the joint
Wait until the mortar has gone "thumbprint hard" — firm enough to take a print without smearing — before you tool the finish. A weather-struck or bucket-handle finish sheds water better than a flush one on most British walls. Then keep lime work damp and shaded for the first few days; a length of hessian, dampened down, does the job. Rushing the cure in hot sun is the fastest way to undo a good morning's work.
When to put the trowel down
Repointing a low garden wall or a single accessible elevation is well within reach of a careful, patient homeowner over a weekend or two. Anything above single-storey height, anything that needs scaffolding, a chimney, or a wall you suspect is moving rather than just weathering — that is a job for someone with the right access equipment and insurance. There is no shame in doing the bits you can reach and paying for the rest. The wall does not know who pointed it. It only knows whether you used the right mix.